Prep. Place. Perfect.
Set every detail with intention.
A clear application routine helps every shape sit with confidence. Read the directions supplied with your set, then move through each step without rushing.
Begin the guide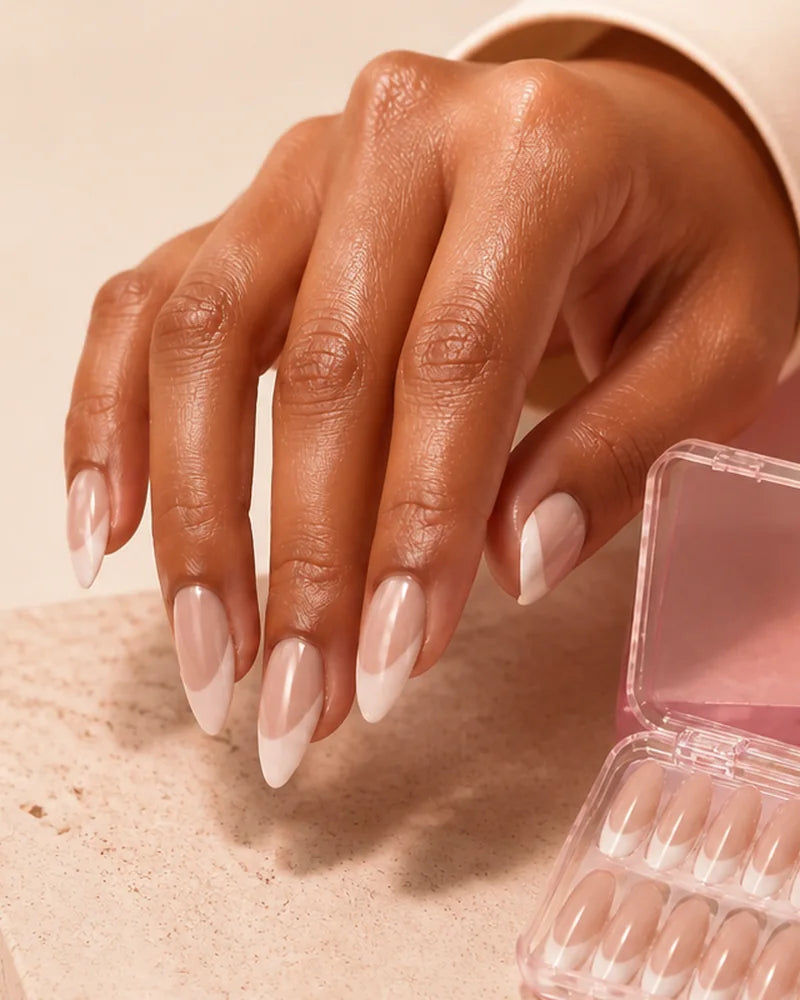
Before you begin
Prepare the ritual.
Choose a clean, well-lit space and read every product-specific direction before opening the adhesive.
-
01
Your selected set
Arrange every size in order before you begin.
-
02
Prep essentials
Keep the supplied or recommended prep tools within reach.
-
03
Approved adhesive
Use only the adhesive and method directed for your set.
-
04
A clear workspace
Choose a clean, dry, well-lit surface with enough time to work carefully.
The instructions supplied with your product and adhesive always take priority over this general guide.
The application
From bare nail to final detail.
Work one nail at a time and keep every movement precise. A measured application is easier to control than a hurried one.
-
Step 01
Match every size.
Lay out the full set and match each piece to the widest part of the corresponding natural nail. Check both hands rather than assuming they are identical.
Studio noteThe chosen piece should cover the natural nail without pressing into the surrounding skin.
-
Step 02
Prepare a clean canvas.
Begin with clean, completely dry nails. Remove surface oil and complete any additional preparation only as directed by the instructions supplied with your set.
Studio noteArrange the selected sizes before opening adhesive so the application can stay controlled.
-
Step 03
Apply with control.
Follow the approved adhesive directions exactly and work one nail at a time. Keep adhesive away from the surrounding skin and avoid using more than directed.
Studio noteProduct-specific adhesive instructions always take priority over general technique.
-
Step 04
Place, align, press.
Align the piece with the natural nail, leaving the surrounding skin clear. Lower it with control, confirm the placement, then press for the duration stated in the product directions.
Studio noteIf the placement feels uncomfortable or uneven, stop rather than forcing the fit.
-
Step 05
Protect the finish.
Complete the remaining nails with the same measured routine. Follow the aftercare directions for your adhesive and check that every edge feels secure before resuming your day.
Studio noteKeep the product directions for reference throughout wear and removal.
When the look is complete
Remove with the same intention.
Patient removal protects the natural nail. Use the method approved for your adhesive, and never pull against resistance.
-
01
Check the method
Confirm the removal directions for the adhesive used and gather the recommended materials.
-
02
Allow release
Use the approved process and allow enough time for the adhesive to soften or release.
-
03
Lift without force
Remove only when the piece releases easily. Stop and repeat the approved process if you feel resistance.
The final detail
Choose the look. Keep the ritual.
Explore the latest edit, or visit the FAQ for more guidance on fit, care, shipping, and returns.